I like to use completely separate configuration files when working with different deployment environments. For example, the connection string to the database in my development environment needs to change when the application is moved to a production environment. Having a separate file for each environment is a clean way to ensure this separation of values and allows for expansion (introducing a staging environment).
This pattern is easy to implement when using Microsoft’s .NET framework and Visual Studio. Microsoft has even created an entire XML-based transformation syntax to help.
Create The Config Files
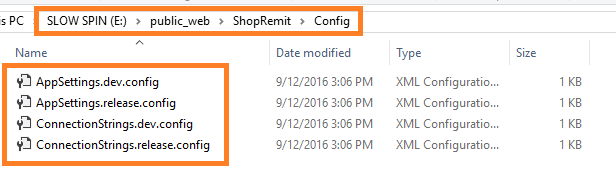
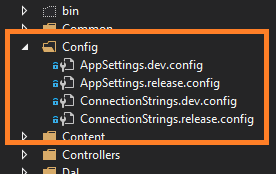
Create a Config sub folder under your project in Visual Studio. This is where we will stash all of our separate files. Go ahead and create the 4 config files as well: 1) AppSettings.dev.config, 2) AppSettings.release.config, 3) ConnectionStrings.dev.config, and 4) ConnectionStrings.release.config.
Copy Existing ConnectionStrings and AppSettings
Copy any existing connection strings or application settings you have from your web.config file to the new files. Update database names, user names, and passwords for your different environments in the separate configuration files. In the end you should have files that look similar to these examples:
Config/ConnectionStrings.dev.config
<?xml version="1.0" encoding="utf-8"?>
<connectionStrings>
  <add name="MyConnectionStringName" providerName="System.Data.SqlClient" connectionString="Data Source=.\SQLEXPRESS;Initial Catalog=ShopRemit;Integrated Security=True;MultipleActiveResultSets=True;Persist Security Info=True;Pooling=false"/>
</connectionStrings>
Config/AppSettings.dev.config
<?xml version="1.0" encoding="utf-8"?>
<appSettings>
  <add key="IsWholeSitePasswordProtected" value="false" />
  <add key="WholeSitePasswordProtectedLoginPage" value="~/Home/WholeSitePasswordProtectedLoginPage" />
  <add key="WholeSitePasswordProtectedAnswer" value="HiMom" />
</appSettings>
Modify Your Web.Config File
We pulled the existing connection strings and app settings out of the web.config file, but now we need to reference these new external files within the web.config file. Link the development version of the config files by default, then we will add the config transforms next to point at the release version of these.
Web.config
<connectionStrings configSource="Config\ConnectionStrings.dev.config" />
<appSettings configSource="Config\AppSettings.dev.config" />
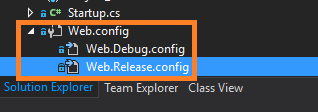
In the Visual Studio solution explorer, you can expand the Web.config file to reveal two files under it: 1) Web.Debug.config 2) Web.Release.config. This is where you can define what transformations will happen to your web.config file when you flip the switch to release mode.
Open up the Web.Release.config and add the two transforms like you see below.
Web.Release.config
<?xml version="1.0"?>
<configuration xmlns:xdt="http://schemas.microsoft.com/XML-Document-Transform">
  <connectionStrings xdt:Transform="Replace" configSource="Config\ConnectionStrings.release.config" />
  <appSettings xdt:Transform="Replace" configSource="Config\AppSettings.release.config" />
</configuration>
Now when you build your project in release mode, or do a publish of your code to production, the 2 web config transforms run. The current web.config <connectionStrings /> and <appSettings /> nodes will be replaced with the ones defined above, pointing to the release configuration files instead of the dev files.