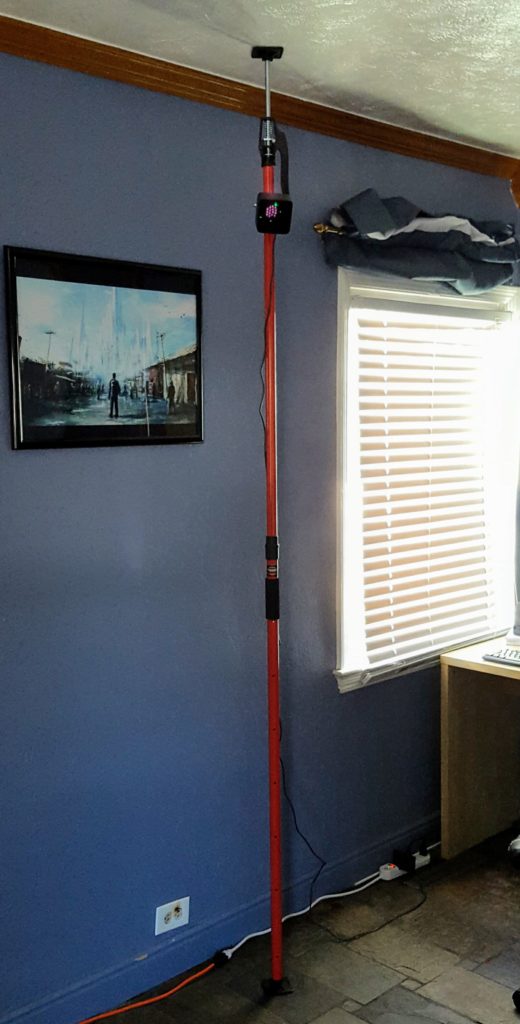
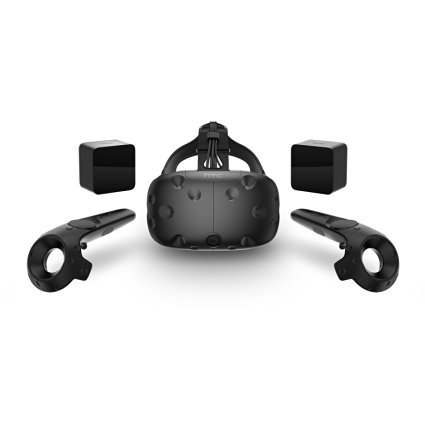
I first tried virtual reality at a maker’s fair in Denver, where one of the stands had a pre-release Oculus Rift set up. I felt the rush of “the future” and decided to do some research and order a system for my home. I landed on the HTC Vive, as it feels more mature, comes with all accessories needed, and was highly recommended to me by a friend.
The Vive comes with two base stations (sensors) included that must be installed above head height. There is a mounting kit included, but this requires drilling holes into your wall or ceiling. Some people use photography tripods, as the base stations have standard threaded mounting holes. However, the tripods pick up a lot of vibrations that will affect your VR experience.
Support Poles
These hand support compression poles are more solid than tripods, can easily be hidden in the corners of your home, and come in a 2-pack. You will also need two mounting clamps that will attach to the pole at varying height, that the Vive base stations then screw into. This setup allows for a temporary, yet solid, mounting solution.
Setting It All Up
The support poles will look like this out of the package.

The system comes with multiple “feet” for the poles. These simply pop into the top and bottom.
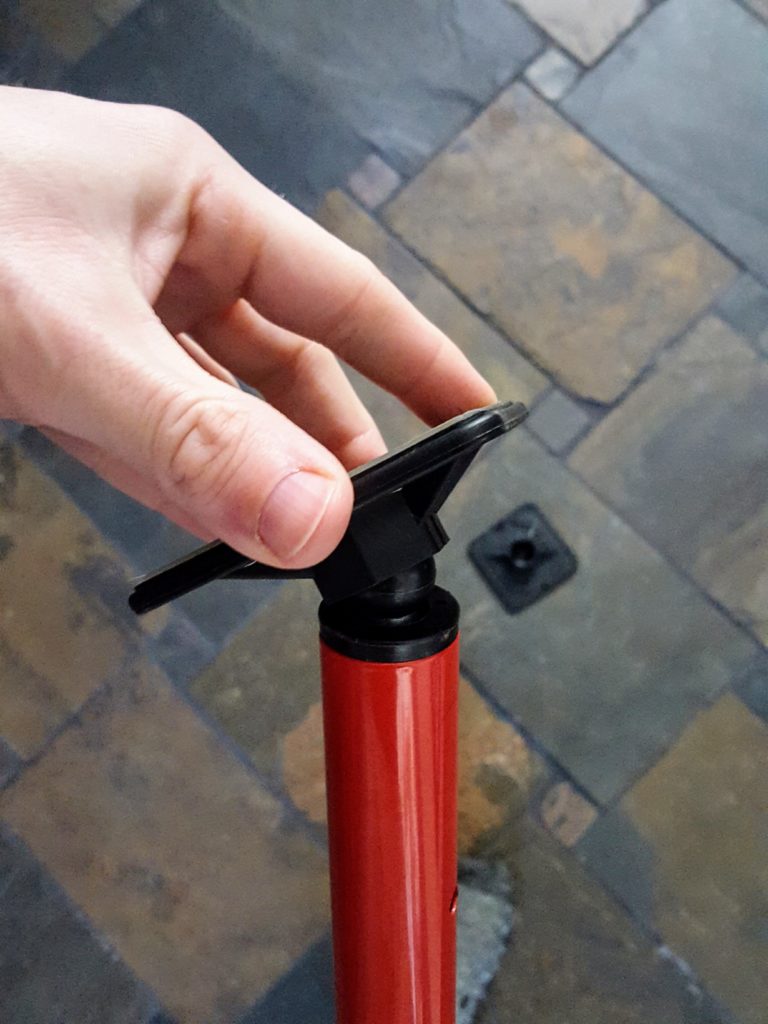
Extend the pole as far as you can against the floor and the ceiling.
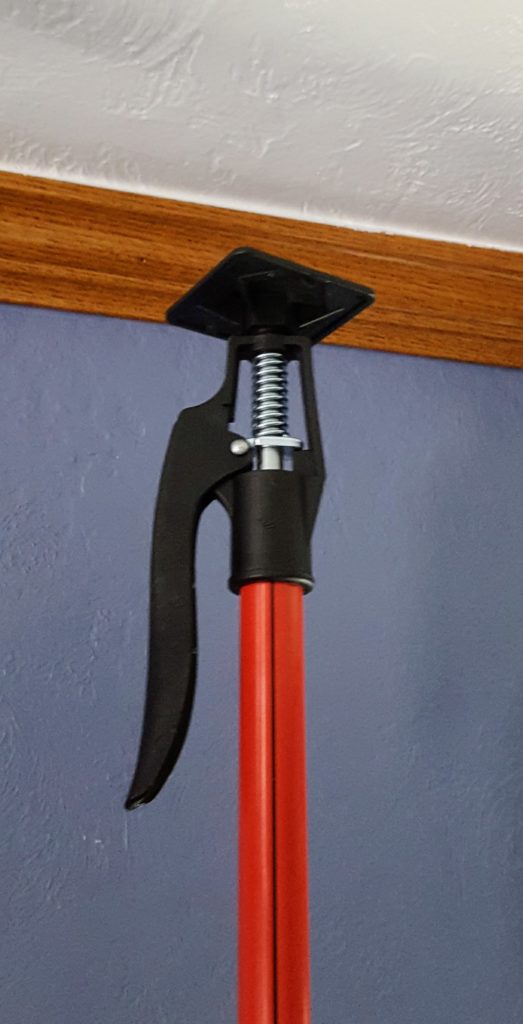
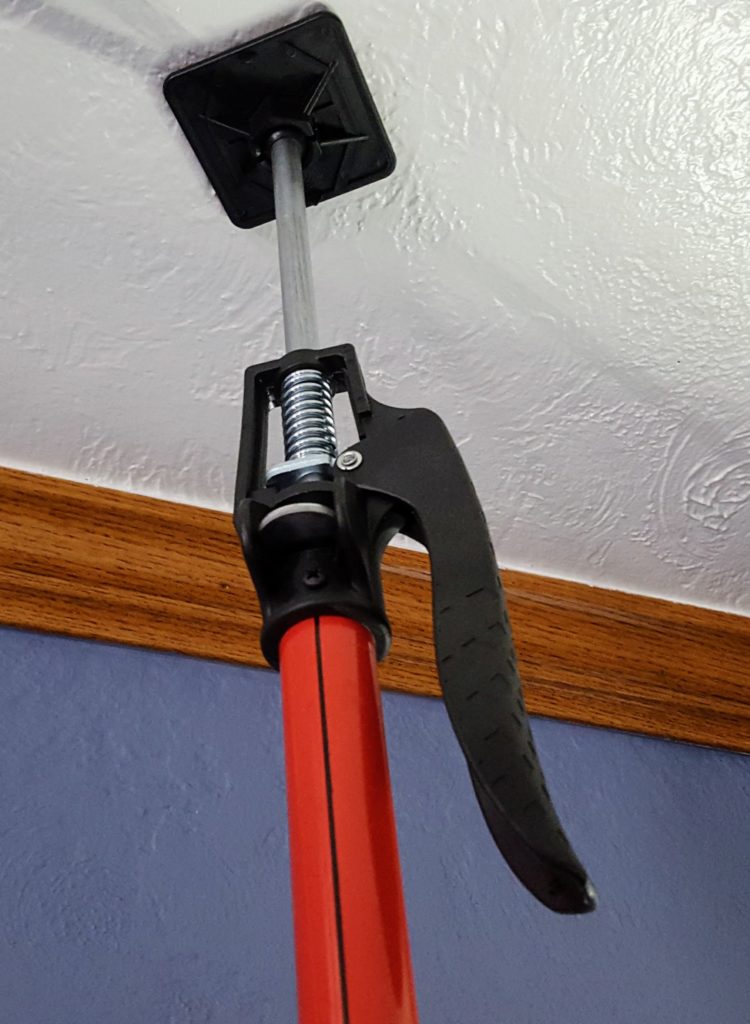
Then use the hand pump to make the pole tight. Press up on the little metal lever to reset the hand pump portion of the system.
Attach the clamp to the pole.
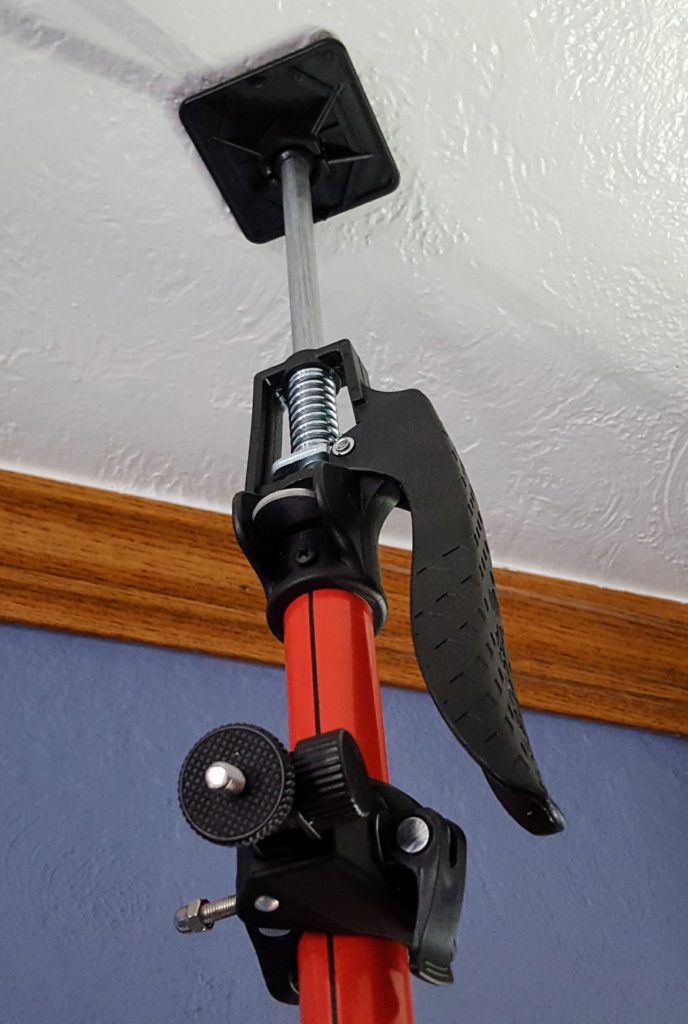
Then screw the base station into clamp. As the Vive directions state, do not screw it in all the way, just enough to be solid, then use the clamp tightener to screw more tightly towards the sensor.
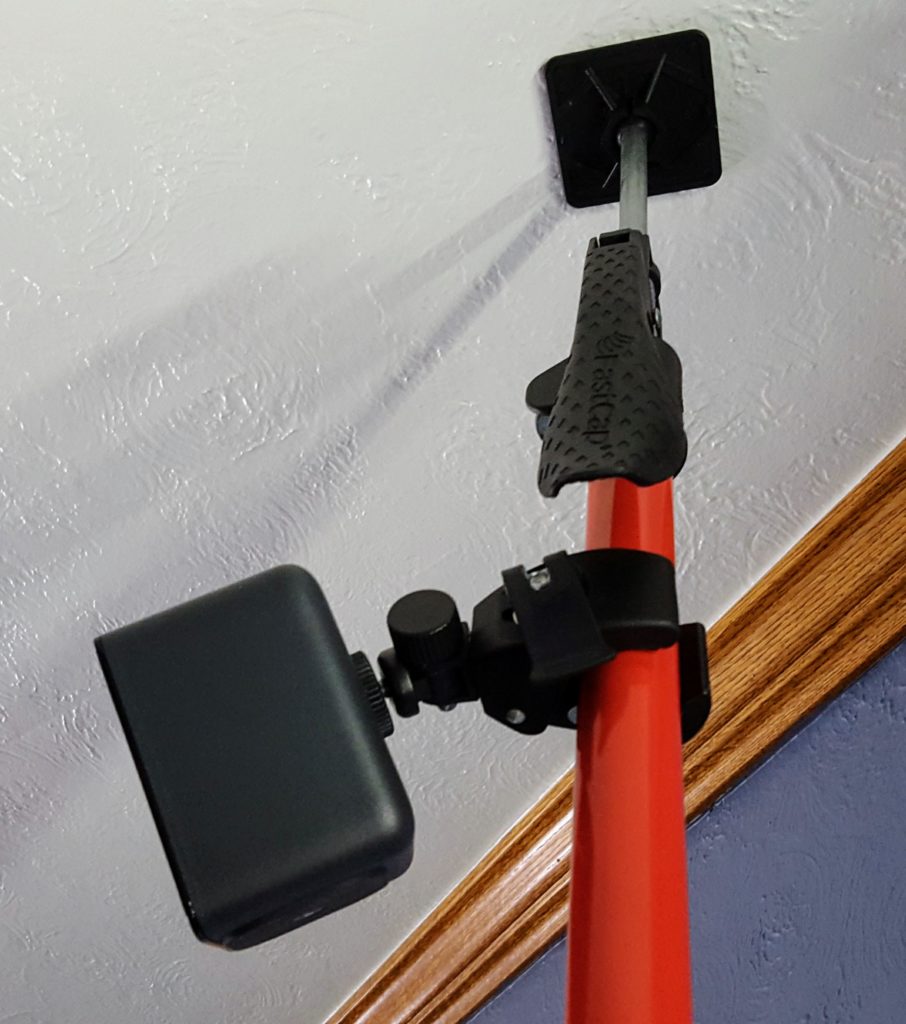
All done. Plug the sensor in, calibrate your room through the VR setup, and you are ready to play!
