I’ve been obsessed with the idea of 3D printing since I’v been aware of the concept. The appeal being: I can create anything within my imagination – practical, functional or creative. The QIDI 3DP-QDA16-01 is my first 3D printer I’ve owned and was gifted to me by my boyfriend for my birthday this year.
Product Review Of The 3d Printer QIDI TECHNOLOGY 3DP-QDA16-01
Pros: Solid packaging, no chance of damage during shipping. Everything needed for first prints included in the box. Dual extruders for bi-color, or bi-material printing. Supports ABS and PLA filament. Glows blue when on, looks great in the room.
Cons: Long setup time with confusing instructions.
Summary: This printer is very high quality and is great for a beginner like myself. The worst part is the set up, but once complete, you will have something that will last for many prints to come.
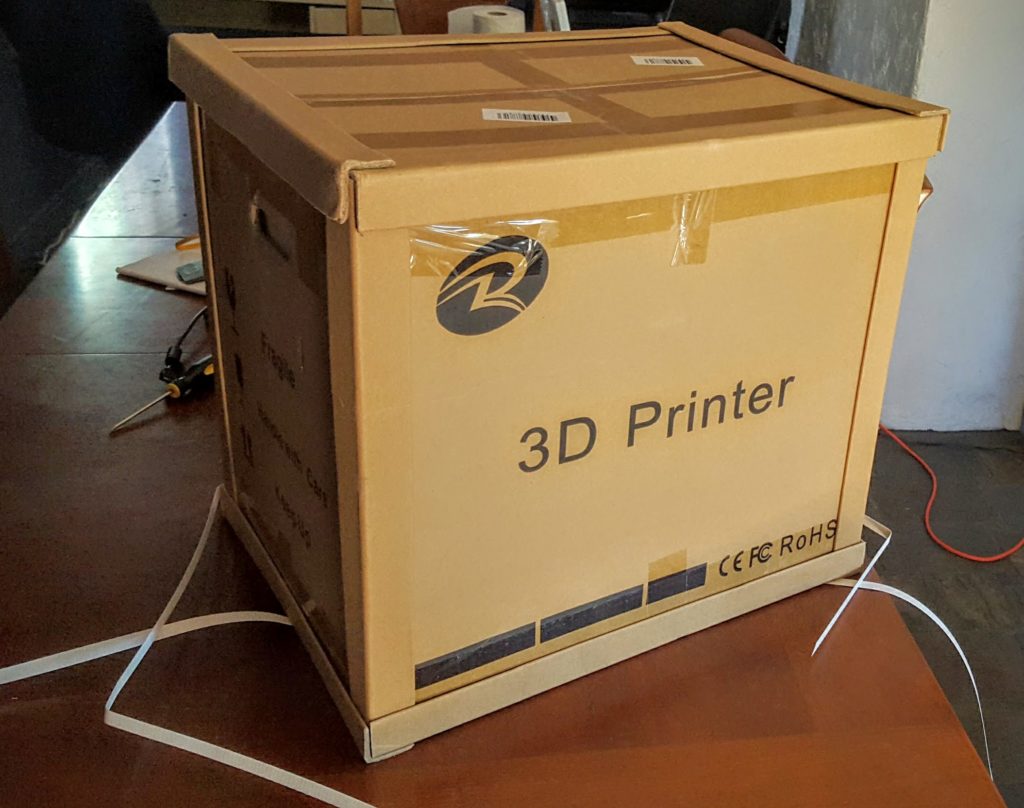
Let me emphasize that everyone was packaged extremely well. Concentric cardboard boxes and Styrofoam coverings encompassed the entire machine which gave me an instant sense of quality.
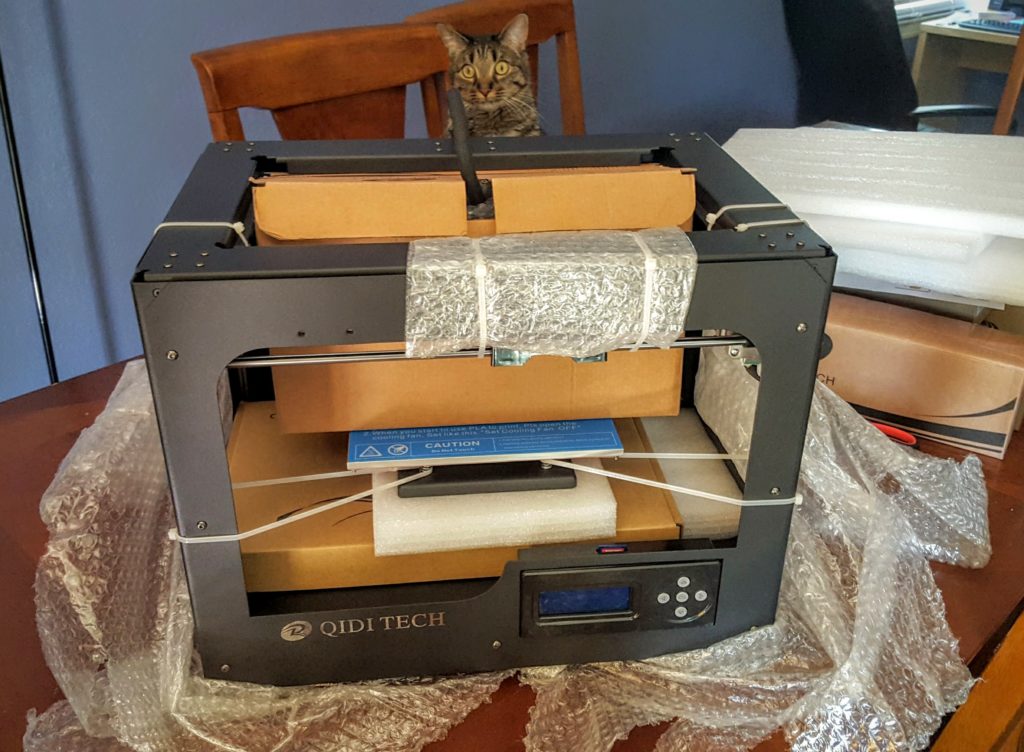
Unpacking to this point took about 10 minutes. The extruders, putty knife, and spare parts are in the boxes hidden inside the printer. The SD card is accessible at this point to get at the sample prints provided, the splicing software, and most importantly: the setup instructions. There is even a SD-to-USB dongle provided. Cat in the background for good measure.
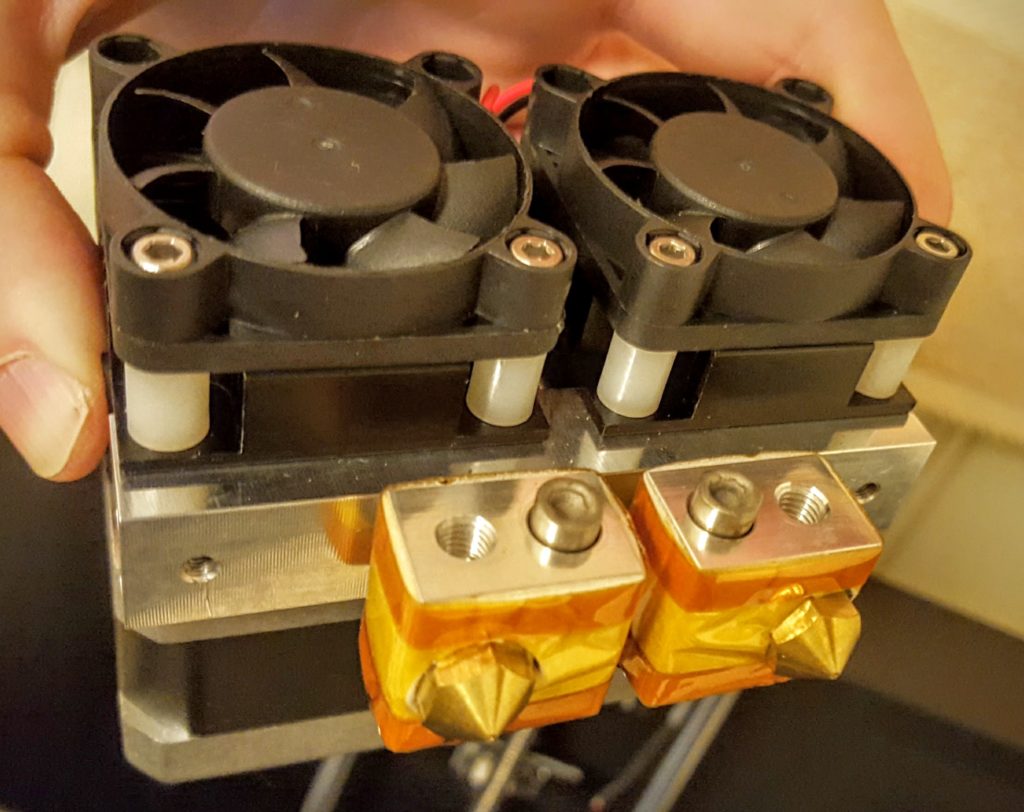
Here are the extruder heads. These, understandably, were the most protected part of the package. I’m glad I read the instruction manual on the SD card before I tore the heat-reducing yellow tape off!
After around 3 hours of hardware setup, I was done and ready to print learn how to print. Up until this point, I thought 3D printing consisted of using a modeling software like SketchUp or Maya to create an object, then a press of the button would send it to the printer, end of story. How wrong I was! There are countless permutations of settings ranging from fan speed to filament temperature.
There is even another level of software that I was unaware of: splicing software. This is what drives the printer’s movements and tells the printer exactly what you want and where. The free options are MakerBot and ReplicatorG, and are included on the SD card. However I wanted the latest version so I downloaded MakerBot directly from their site.
If I get more experience under my belt, I will end up ordering Simplify3D for $150, as everyone my printer senior seems to find it crucial.
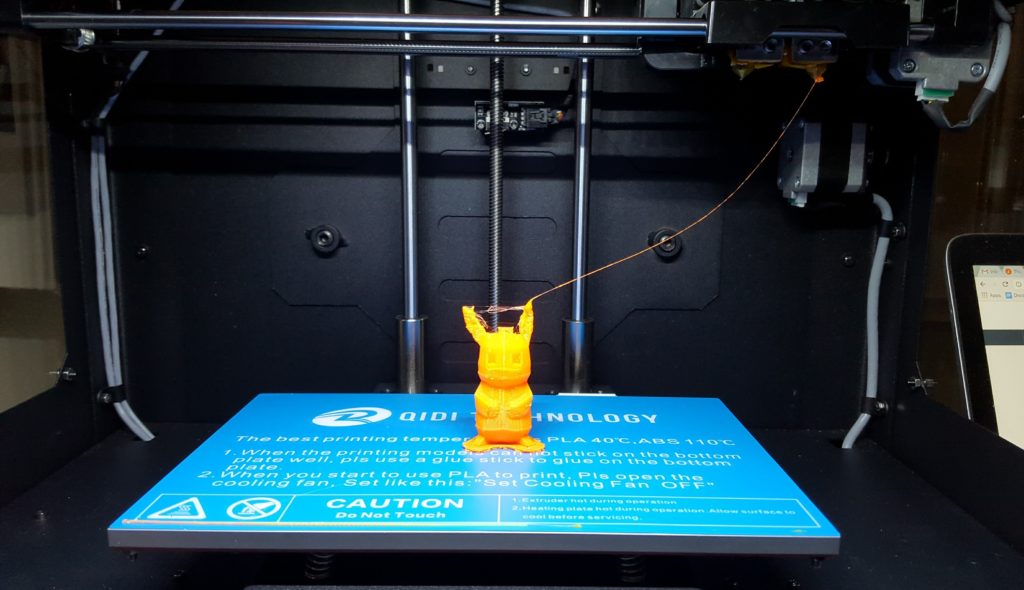
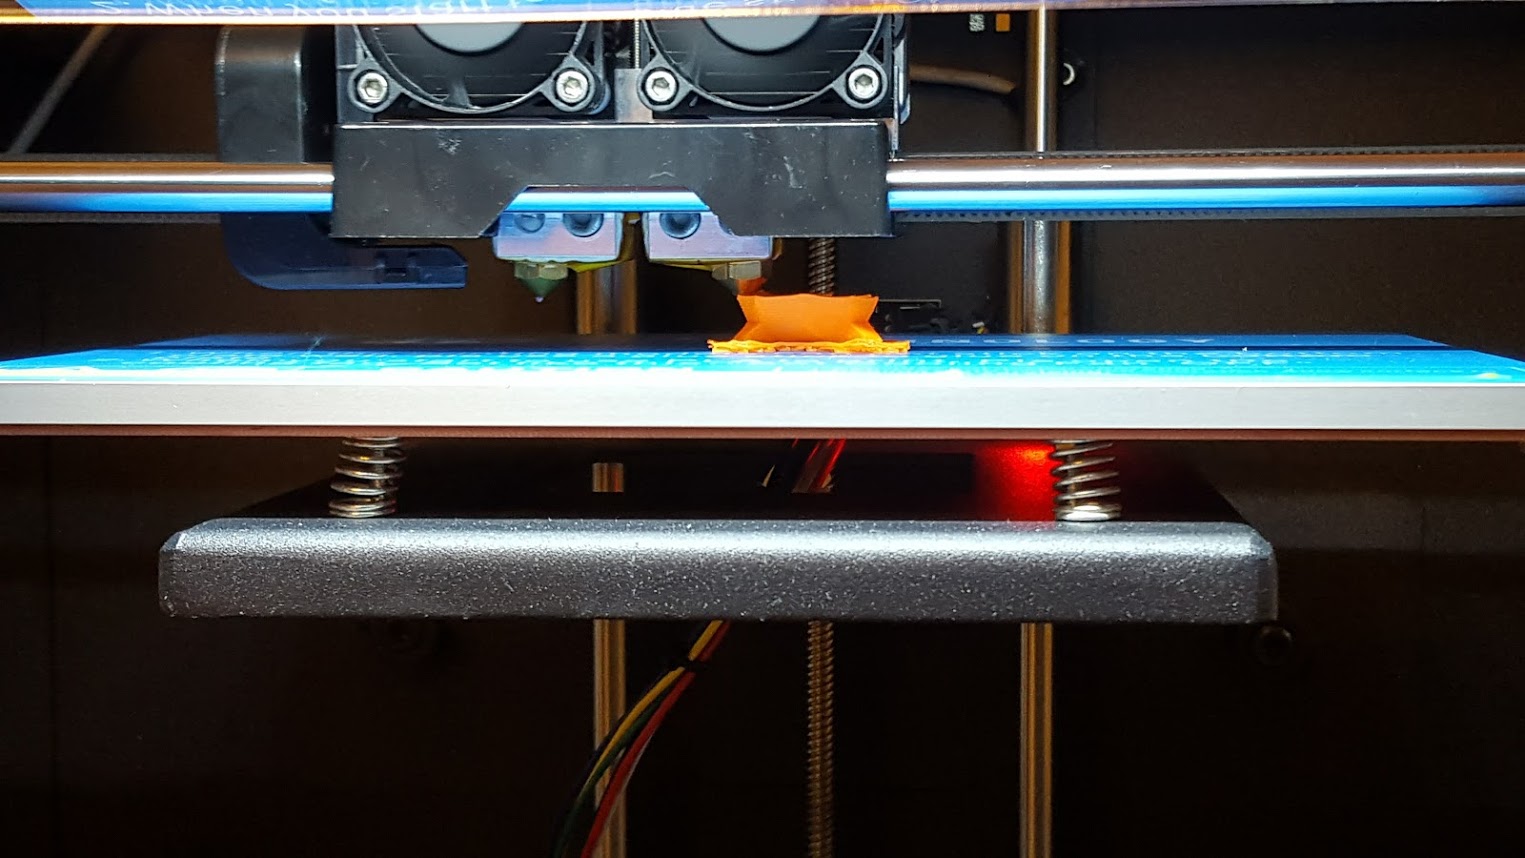
For my test print, I used a simple low-polygon Pikachu figure that I nabbed off of Thingverse. I connected my laptop via the included USB cable, and MakerBot automatically detected it. I did some final calibrations of the build platform, loaded the extruders and finally hit the button.
The print took around 45 minutes (I watched the whole time) and appeared to be going too quickly near Pikachu’s ears which caused some globbing to occur. I consider it a victory for 1) not using the included glue stick on the base and 2) having the print quality set to medium. Time to play around with all those settings and try again!
Hello, i read your blog from time to time and i own a similar one and i
was just curious if you get a lot of spam remarks?
If so how do you prevent it, any plugin or anything you
can recommend? I get so much lately it’s driving me mad so any help
is very much appreciated.