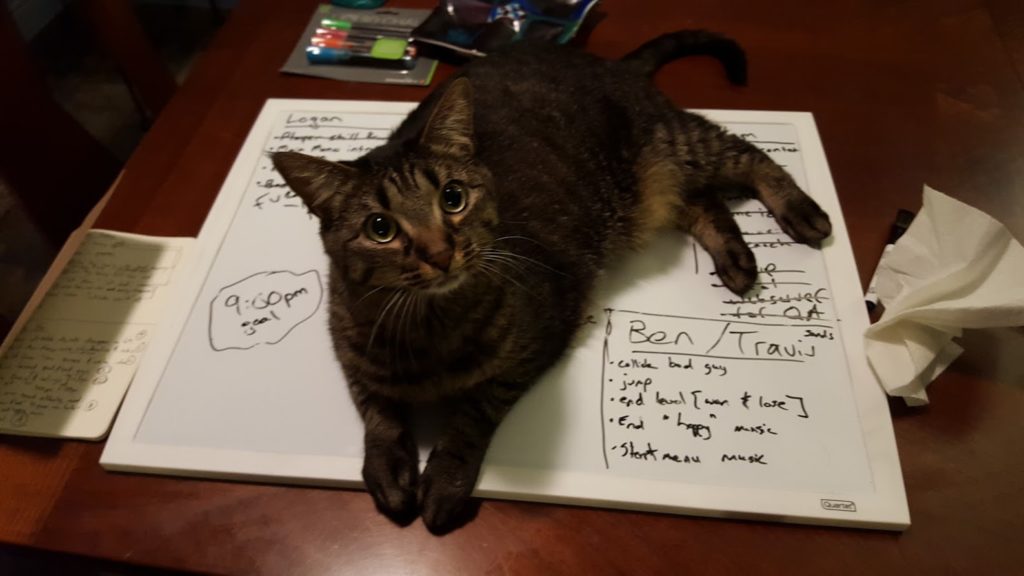
This weekend, some friends and I participated in a “make a video game in 3 day” competition called Game Jam. Serenity Forge, the company that hosted the jam, would provide a secret theme at the start of the competition that all teams must integrate into their game. There was also a larger list of topics which each game must include as well as the secret theme. Our topic was “Promote Health” and the secret theme, announced Friday morning, ended up being “Healing”.
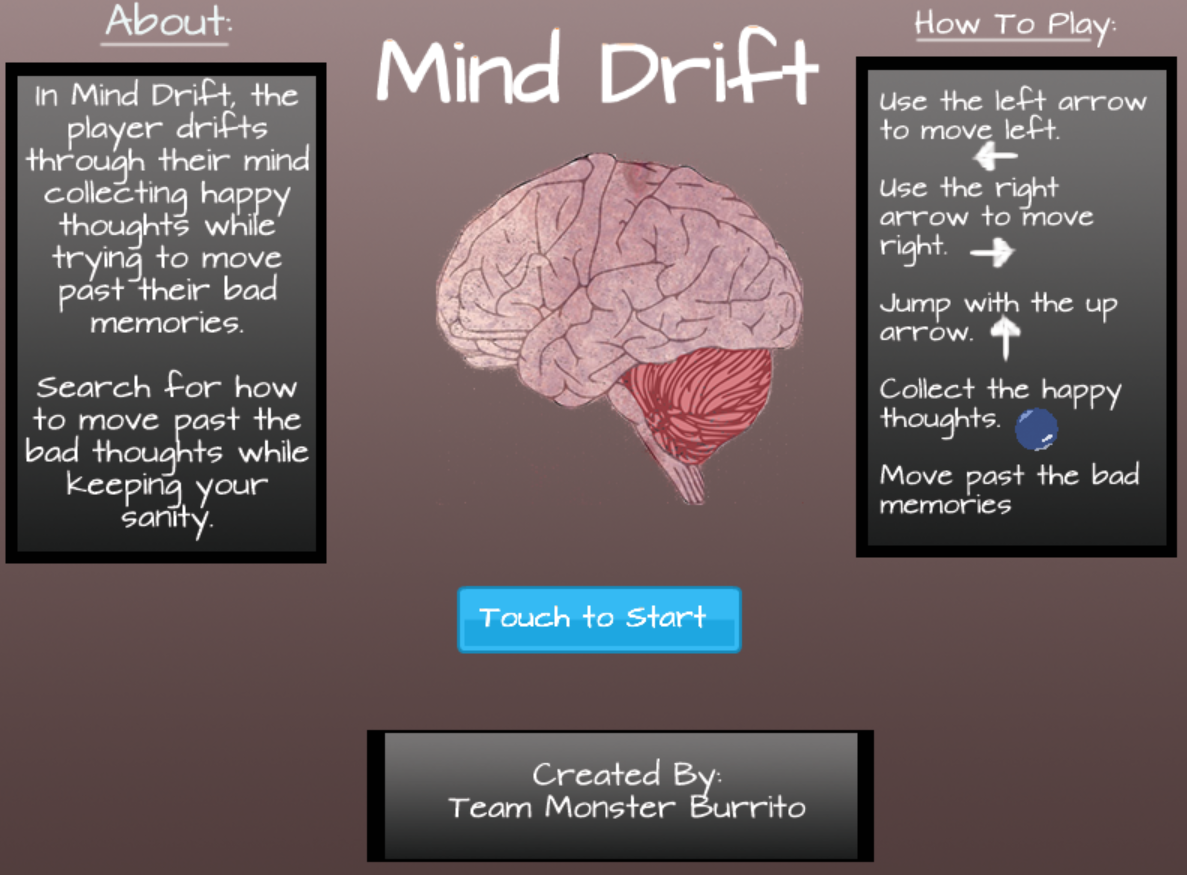
Our game concept was simple: build a side scroller where the main character is in their own mind. They are crippled with severe depression and haven’t left the house in days. They must then get past their bad memories and collect good thoughts in order to get to the end of the level and muster the courage to go outside the house.
Mind Drift, The Game
The final playable game submission can be found here. This does not embed well, nor does it work on mobile.
Download the code and assets here.
The Team
The team consisted of 3-5 people (some popping in and out) that were all responsible for different areas of the project. We had the basics covered: development, graphics, and sounds. What we didn’t have was experience. We decided that the real goal of the weekend should be to simply learn, have something to submit to the contest, and to have fun.

The Code
We decided early on in the project to use the JavaScript gaming framework Phaser.io. I doodled around with it some before the game jam, but I found their documentation to be rather lacking. A few examples that didn’t work, no explanation of the code, and online forum posts suggested tackling the same issue different ways.
Below are a few pieces of JavaScript code I wrote for Mind Shift.
Spawning Random Object
Objects should not be generated in floors or ceilings, nor near the start or end of the level. I set up an object after the world first renders, and dub it playableBounds. This represents the area of the game that objects should randomly spawn in. I then created a helper method to return a random set of (x,y) coordinates inside of the playable bounds area, in order to randomly generate the good feelings and bad memories of the level.
var numNeuroTransmittors = 10;
for (var i = 0; i<numNeuroTransmittors; i++)
{
	var location = this.getRandomCoordinatesInPlayableBounds();
	var nt = this.neuroTransmittorsGroup.create(location.x, location.y, 'blueOrb');
	nt.scale.set(.7);
	nt.body.static = true
	nt.body.setCollisionGroup(this.collisionGroups.neuroTransmittor);
	nt.body.collides(this.collisionGroups.player);
}
This still allows the game objects to spawn on top of each other. In retrospect, I should have immediately checked any object collision before placing a new randomly generated object on the map. Phaser even most likely has some logic like this built in that I don’t know about yet.
P2 Physics Engine For Phaser
There are different physics engines included with Phaser that you can choose from. About 8 hours into the first day, our team discovered a more complex physics engine we should be using called “P2 Physics”. We had been using “Arcade Physics” up until this point, yet ran into a road block when attempting to make complex hit boxes for certain game objects. Phaser’s Arcade Physics are meant to be used for more simplistic and lightweight games, so we decided to start migrating everything in the code over to P2 Physics instead. I spent hours re-learning logic and changing code because of this switch, yet I still think it was the best decision.
P2 collision groups
//need to create collision groups before any objects apparently
this.collisionGroups.player = this.physics.p2.createCollisionGroup();
this.collisionGroups.door = this.physics.p2.createCollisionGroup();
this.collisionGroups.neuroTransmittor = this.physics.p2.createCollisionGroup();
this.collisionGroups.badMemories = this.physics.p2.createCollisionGroup();
this.collisionGroups.platforms = this.physics.p2.createCollisionGroup();
P2 collision callbacks
this.player.body.collides(this.collisionGroups.neuroTransmittor, this.playerNeuroTransmittorCollide, this);
this.player.body.collides(this.collisionGroups.badMemories, this.playerBadMemoriesCollide, this);
this.player.body.collides(this.collisionGroups.platforms, null, this);
this.player.body.collides(this.collisionGroups.door, this.playerDoorCollide, this);
this.player.body.collides(this.collisionGroups.platforms, null, this);
This line of code hung me up for a while. In Phaser P2 Physics, you must register each object to a collision group, define what collides with those groups, and register a callback like this.
I wanted nothing to happen when the player and platforms collided, yet I still needed this line of code for them to interact with each other in the game. You’ll notice I simply pass in “null” for the actual collision callback function expected (2nd argument of .collides()).
Heads Up Display
The HUD is responsible for displaying everything permanently overlayed on the game: the current score, health bar, and a mechanic for making the entire screen flash.
//HUD elements last so they are always on top
this.buildHud();
Health bar (progress bar)
this.hud.progressBar = {
	fillPercentage: .6,
	x: 60,
	y: 55,
	maxWidth: 200,
	height: 30,
};
The progressBar object represents a health bar in our game. I then add two tile sprites to the game, one that is always at the max width of progressBar.maxWidth, and another on top of the first that is (progressBar.fillPercentage * progressBar.maxWidth) wide. In Phaser’s update cycle, it looks at this object and scales the foreground sprite’s width accordingly, giving the effect of a health bar that can move to the left or right.
Updating the HUD on Phaser’s Update() callback
updateHud:function() {
	this.hud.progressBar.foregroundSprite.width = this.hud.progressBar.maxWidth * this.hud.progressBar.fillPercentage;
	this.hud.scoreText.text = "Good Thoughts Collected: " + this.hud.numberOfGoodMemories;

	var step = .01;
	if (this.hud.bloodOverlay.alpha > 0)
	{
		if (this.hud.bloodOverlay.alpha - step <= 0)
			this.hud.bloodOverlay.alpha = 0;
		else
			this.hud.bloodOverlay.alpha -= step;
	}
	if (this.hud.healOverlay.alpha > 0)
	{
		if (this.hud.healOverlay.alpha - step <= 0)
			this.hud.healOverlay.alpha = 0;
		else
			this.hud.healOverlay.alpha -= step;
	}
}
The blood and health overlays work by first adding a tile sprite over the entire game world. Then I make the overlay completely transparent and wait for a collision callback event. On a player and bad memory collision, the red overlay’s opacity is set to a higher value and then Phaser’s update cycle takes over. On each tick, it checks if there is an opacity value (meaning it’s somewhat visible) already assigned to the tile sprite. If there is, decrease the alpha by a set amount and continue with the next update cycle. This ends up generating a screen-wide flash and fade of red as the player gets hurt in the game.
Afterthoughts
All of my goals for the game jam weekend were met. I expanded my knowledge of Phaser and JavaScript, we submitted our game to the competition, and I had fun. I’m curious to hear what the results will be and am excited to continue making games with Phaser.
